Understanding Stops in Photography - an Easy Beginner's Guide

Understanding Stops in Photography
Photography is a very passionate hobby that millions of people enjoy. It gives you the opportunity to capture some amazing moments in life. Additionally, this hobby can become so much more, as there are plenty of career opportunities that come with photography. Therefore, understanding the basics is essential for properly building up your knowledge, skill, and experience.
One of the terms that confuse numerous photography beginners is “Stops.” It is a very important expression in the photography world, as it is directly connected with the amount of light that reaches the camera’s sensor. “Light stops” means that, by using three essential camera tools, ISO, shutter speed and aperture, you double or halve the amount of light in the taken photo. A “stop up” is going to double the amount of light in your photo, whereas, going a “stop down” is going to halve the amount of light present in the image. Let’s take a look at how you should use the three crucial elements to take complete control over your light exposure.
Before we start, keep in mind that exposure and stops are two different things. Exposure is the amount of light the sensor is exposed to, whereas the term stop was invented to directly refer to doubling or halving the amount of light in images.

Understanding Stops in Photography - an Easy Beginner's Guide

Shutter speed and stop correlation
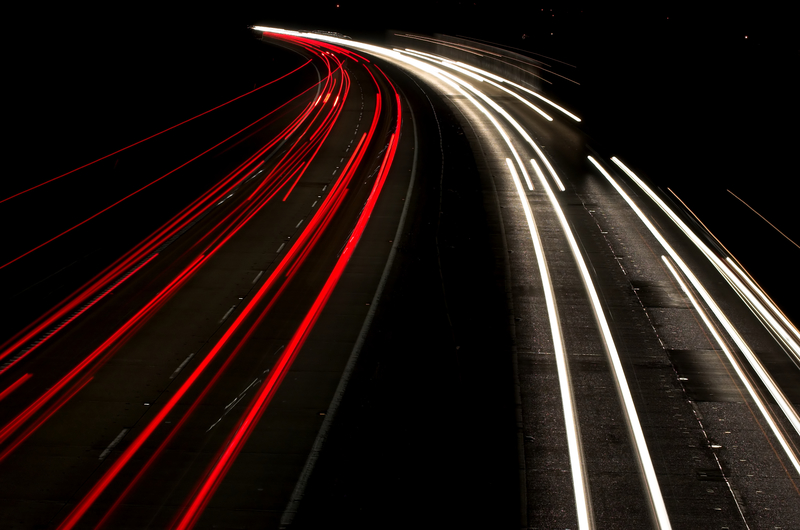
One of the determining factors that impact the amount of light that reaches the camera’s sensor is shutter speed. Also, it plays an important role in freezing motion, which is important for sports photographers
The general rule is: the higher the shutter speed, the less light is going to reach the sensor. Contrarily, the slower the shutter speed, not only is there going to be more light in the photo, but the object that is moving is also going to become blurry in the whole process.
To understand how shutter speed is affecting the stop value, we can start off with an example of a shutter speed of 1 second. To move a stop lower, in terms of reducing the amount of light reaching the sensor, one needs to increase the shutter speed to a 15th of a second. If you want to half the amount of light from 1/15th of a second, you need to up the shutter speed to a 30th of a second. The rest of the stop values are logical: 1/60, 1/125, 1/250, 1/500, 1/1000, 1/2000, and 1/4000 of a second are considered stops.
Some cameras can go even higher with shutter speeds, but simply remember that doubling numbers is going to make the time that it takes for the light to reach your sensor into the half. For example, a difference between a 1-second exposure and 1/125 of a second is five stops down, meaning that a photo will have five times more light with a 1-second exposure.

Aperture and stop correlation 
Aperture and stop correlation
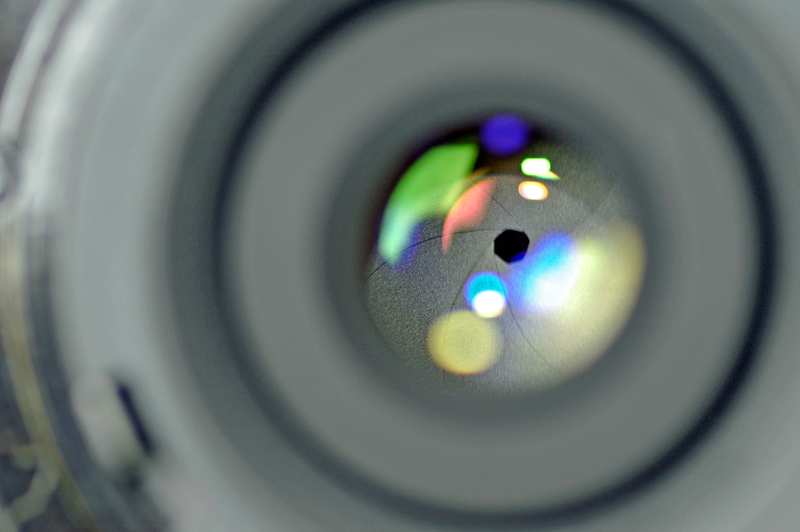
Aperture is an important part of photography, because the more it opens, the more light is going to reach the sensor. For example, lenses with a f/1.4 aperture are wide lenses. Aperture also affects the depth of field, which gives a special look to the images. The wider the aperture, the more focus you can put on your subject.
But, unlike ISO and Shutter speeds, stop differences with f numbers are differently calculated. For example, a stop down from f/2.8 is f/4. Meaning that the f-number is multiplied by 1.41 (the square root of 2). So, if you want to go a stop down with your aperture, it is necessary to multiply the current f value you are using by 1.41.
To make the whole process easier, you can memorize the following values: f/1, f/1.4, f/2, f/2.8, f/4, f/5.6, f/8, f/11, f/16, f/22 and f/32, or you can simply carry a calculator to your photo shoot!
The higher the f/ value, the lower the amount of light that will reach the sensor. But also, the focus is going to be higher as well.

ISO and stop correlation
ISO value represents how sensitive your camera sensor is to light. A side effect with increasing ISO is image grain, which makes it less sharp, resulting in loss of quality. However, professional cameras can shoot with high ISO values without any image quality loss.
By increasing ISO values, you are going stops up with your images. For example, ISO 200 has twice as much light as the image shot with ISO 100. Like with shutter speeds, doubling the ISO values leads to higher stops, providing more light to the image.

Combining the three elements
By playing with these three elements, a photographer can create perfect images, as long as he or she understands what each of the elements does to the photo. For example, if you are shooting an evening event with 1/60 of a second, f/2 and ISO 400, and you have hit the right exposure, but the subjects are moving, then you can increase the shutter speed to 1/125 of a second. This means that you have gone a stop down, so you now have to bump the ISO to 800 or open aperture f/1.4 to compensate and achieve the same exposure. 

The result will be no blurred subjects in the photo, while the exposure will remain the same. As you can see that stops play a major role in photography, as they directly affect the quality of the images you take.
To better understand each of these elements, you need to get out and start experimenting with your camera. This is going to lead to the best results over time, as you are going to acquire much more experience. With some practice, and by following the above-mentioned tips, you are going to be able to take control over the manual setting of your camera completely. Get out and start shooting, your future self is going to be very grateful.

How to Choose a Photography Niche and Start Your Own Business

How to Choose a Photography Niche and Start Your Own Business
If you are becoming progressively more interested in photography as a hobby, no one can blame you. After all, it is really interesting, and it can be quite lucrative. Sure, it might require a little bit of investment of both time and money, but it is going to be worth your while.
Photography is fairly popular and necessary nowadays, considering just how many different types of business rely on it. In other words, if you play your cards right, you can really make it in this world if you have a knack for photography.
The important thing to remember is that it would be impossible to get good at every type of photography there is, so you should pick one genre to specialize in, becoming more proficient and making a name for yourself over time.
So, in this guide, we will provide you with some suggestions on how to find your niche and how to start your business as a photographer. 

How to Choose a Photography Niche and Start Your Own Business

Find your calling 
Photography Niche
First thing’s first, you need to decide in which field of photography you want to advance, and there are many areas to choose from. There is wildlife photography, wedding photography, real-estate photography, and more recently, people have started creating new fields like photos made by using drones, etc.
Basically, ask yourself what it is that you really like, what is it that you want to be a part of. Do you like animals, sports, entertainment, weddings, architecture or anything else? When you find an answer to that question see what the photos of professional photographers look like.
Once you find your field of interest, then you can look up some of the photographers online, and ask them what they think. You need to know how you should start, what is the initial equipment you will need, and where you can get it, etc. When you know how to start, then you should move on to the next step.

Check for additional costs
Regardless of the niche you pick, you must bear in mind that each of them requires a different type of sacrifice. Some of these hobbies are exhaustive, and some others might require expensive equipment and these are the things you should find out. For example, wildlife photography might require you to get a tent and to learn how to camouflage, how to track animals, and how to be patient.
Wedding photographers work hard for the entire day so that they can capture every part of the ceremony, and then they need to edit thousands of shots in order to satisfy your clients. Sports photographers can experience a lot of pressure because they need to capture the perfect moment during the game if they are to sell their photos. So, make sure you look these things up and ask yourself if you are really up for it.

Get the equipment
The next thing you need to do is get all of the equipment that is necessary for the niche you have selected. You will always need a camera and a tripod, but there are specific lenses with different features that you should look up since some are specially tailored for capturing objects in motion at high speed.
You might also need to get additional lights or a drone, or you might simply need to purchase a lot of tickets for traveling to different places.

Research how it is done
Research
After you have covered all of the previous steps, you need to find a mentor, or research online to see how it’s done. You need to know what shutter speed to use; you need to know the best time of day to make photos, the best angles, etc. You can also learn a lot from your peers, simply going over the professional photos online and reading the descriptions.
In the description, you can usually find useful details on which equipment was used to take the shot, the shutter speed, and even which filter or tool was used to enhance it. These descriptions can be really insightful, and you as a future photographer can really benefit from them.


Edit your shots
Photo editing is a crucial part of any line of photography; in fact, some of the products are basically more about editing than taking the perfect shot. Book covers, movie posters, and other images we see in the entertainment industry require heavy editing; after all, we all know super models on magazine covers don’t exactly look that way. In other words, you need to master photo editing tools, for the sake of enhancing the quality of your pictures.
It is advised that you also find a mentor, or spend some time going over online tutorials on how to edit photos. It will be a lot more time-consuming in the beginning until you master all the shortcuts and where every tool is located within the software.
Another thing you should investigate is action packs for tools like Photoshop. Using action pack you can significantly reduce the time needed to create awesome photos, but it limits your creativity since every pack is designed to change the photo in a specific way. These filters can be really good at the beginning, but in order to truly become a professional and earn more, you will eventually have to master photo editing.
Lastly, you can work around this problem if you have some funds on the side, and simply outsource the whole photo editing process. You can find freelancers or companies that offer these services and negotiate the price for editing with them. You can probably find editing tutors this way as well, so give it some thought.
 
Create your profiles
To make a living from this hobby, you’ll need to create your profiles on freelancing platforms, social networks, websites that sell images and perhaps your own website afterward. Make sure the profile is filled completely so that it looks more professional and to increase your chances of getting hired.
Your profiles should also contain some of your best work, to serve as a portfolio and reassure potential clients you are competent enough to the task. In other words, make some albums you can upload before you create your profiles.

Share your works to get noticed
Finally, you need to make the necessary steps to get noticed, and social networks are a great place to start. You should create profiles on Instagram, Facebook, Pinterest, Twitter, and sites like Deviantart.
When you upload your work, it is important you use the right hashtag, but not too many of them. Additionally, you need to include Meta titles and Meta description for each image so that that search engines can categorize them with the corresponding keyword.
Another way to get noticed is to allow some of your works to be used free of charge; provided people use the right attribution. This way, more of your work will get shared, and there is a better chance of getting noticed online.

To sum up, it is not impossible to make it as a photographer, even if you start now, all you need to do is get good and use the right approach. It is vital that you use the suggestions provided in the guide above and to master the skills you need to succeed. Afterward, all you need to do is be persistent and keep going until you are noticed, and more people start hiring you.

How to Make 3D Image


Photoshop can do some amazing thing, but creating a 3D image out of something that is nothing more than a flat graphic or photo is pretty incredible. There's several different ways of doing this and smart photo editors know that each one has it's uses. To create a 3D shape you can use layers, postcards, 3D mesh, or you can create that “old school” 3D look with the red/blue image too – all from a single image in one program. That's impressive. 

How to Make 3D Image

Start with Layers
Photoshop has several 3D shape presets including everyday objects. When you create a 3D object using layers Photoshop wraps the premade “shape” with the layer (like wrapping a present). This can then be turned, positioned, resized and lit depending on how you want it to match the background.
3D Mesh
To create a 3D object start by opening a photoshop document with a background and your desired texture or wrap layer. Smart photo editors know you always edit in layers so you background should actually be Layer 1 and the actual background layer blank.
1.      Select the texture layer and then choose 3D>New Mesh from Layer>Mesh Preset> and then the wrap shape you want then Yes to switch to the 3D workspace.
2.      Inside the 3D panel you'll be able to move or roll the object so that it fits into your image's final composition. There is a 3D axis to see what angle the item is on and you can rotate or scale until it's correctly placed.
3.      Choose the Camera in the lower left and adjust the angle of the object until it's perspective is right. Once you're finished go to File>Revert.
Create a 3D Postcard
 3D Postcard

A postcard is an item that is an object with 3d properties that uses planes instead of 3d (for example a postcard, or menu since the images on these items are 2d even though the item itself is not).
1.      To create a 3D postcard select the appropriate layer then 3D>New 3D Postcard from Layer. You'll see that the original image is applied to both sides of the layer.
2.       You can then follow the same process as above for a 3D layer to create the right camera angle and planes so that your postcard fits into the image appropriately.

Creating a 3D Mesh
3D Mesh
This is the most advanced choice and smart photo editors know that this is the hardest to get right because you're in charge of the actual mesh. The layers method requires you to use one of their pre-made shapes but it's possible to make your own as well using this method. You'll need a grayscale image which you can make with any layer or picture.
1.      Select the layer which you want to use, cutting out the object so that only this remains.
2.       Choose Image>Mode>Grayscale then adjust it based on brightness until the image is clear.
3.      Choose 3D>New Mesh from Grayscale and then choose an appropriate option for how the image should be wrapped for 3D rendering.
 
Useful?
Smart photo editors use 3D rendering for a variety of things but it's ideal for putting a product that is only available in a 2D image into a context that makes it seem 3D and part of the background image. For example, if you don't want to have to send products to a photographer you can just send them to smart photo editors who can “create” a 3D object of your product and then put it into any background you want. No beach nearby? Place that beach bag right into the sand of a background.

Do Photographers really need Photoshop?

Do Photographers really need Photoshop?
If you've ever thought your SOOC image was perfect then looked back at it again 6 months later you'd probably laugh at yourself. Many photographers start out editing their own images, after all when you're building a small business cheap is all you've got. The problem is that once you want to step up into the pro level you need to offer proper Photoshop services. There's lots of reasons you need to have your images edited properly and here's a few:

Do Photographers really need Photoshop?


Money
Good images sell. If you're not using professional Photoshop services even if you're familiar with Photoshop you might not be doing your pictures justice. Good images get shared and they get referrals so you owe it to your business to give the best images possible. Sellable images, graphics, and making your own marketing images are all possible using Photoshop, so you don't even need to hire a graphic designer for that holiday banner, or that mini-shoot promotion flier.
But what about free services? There are a lot of free editing services out there and many don't want to have to pay the subscription to CC. The key here is that free doesn't always equal professional, and Photoshop is the undisputed professional standard when it comes to editing.

Good isn't Great
Good isn't Great
It's almost impossible to get perfect SOOC, and even then it's likely there are still a few tweaks to make it perfect – smoothing hair, cleaning blemishes, fixing a busy area. By using Photoshop services like  you can make your images pop and make them better than they could be without editing. You'll also be able to fix other issues which you might have like chromatic aberration or bigger problems like lighting and save images you thought lost. 

Why Not?
Most Photoshop services are cheap so there's a certain element of “what do you lose” by using it. In fact, one of the biggest complaints of editing is that it takes so much time. Photoshop is extremely time consuming and editing images until they are perfect can take days and even weeks. As a photographer your time is precious so having to sit and edit when you could be taking pictures and making money isn't appealing. It's a business, so if you don't have to spend the money why would you? A good photographer should be able to get SOOC images that are practically perfect so it seems unnecessary at times to bother editing at all.
But I Have Lightroom
Lightroom
This is a common thing for photographers. Many people don't see the need to pay for both software but there are distinct differences between the two image editing programs. For one, Photoshop allows for manipulation which goes beyond Lightroom. Second, it allows you to split your editing into layers and do more complex things like swapping out backgrounds, sky overlays, and replacing faces. Lightroom can fix and adjust a lot but many of the same features are also available in Photoshop so in fact, it's often better to have Photoshop without Lightroom. Photoshop isn't totally intuitive though and it requires more tools and more learning which is what keeps people away. Since both programs are very compatible there's actually no reason why you can't simply work with both in tandem. 

Give it to Someone Else
If all that's holding you back is having to learn an extra tool then you may want to simply outsource. There are plenty of professional Photoshop services out there which cost very little and you won't have to learn anything. Most companies have both and they will use whichever program and process gives your images the best outcome.