Photography is a very passionate hobby that millions of people enjoy. It gives you the opportunity to capture some amazing moments in life. Additionally, this hobby can become so much more, as there are plenty of career opportunities that come with photography. Therefore, understanding the basics is essential for properly building up your knowledge, skill, and experience.
One of the terms that confuse numerous photography beginners is “Stops.” It is a very important expression in the photography world, as it is directly connected with the amount of light that reaches the camera’s sensor. “Light stops” means that, by using three essential camera tools, ISO, shutter speed and aperture, you double or halve the amount of light in the taken photo. A “stop up” is going to double the amount of light in your photo, whereas, going a “stop down” is going to halve the amount of light present in the image. Let’s take a look at how you should use the three crucial elements to take complete control over your light exposure.
Before we start, keep in mind that exposure and stops are two different things. Exposure is the amount of light the sensor is exposed to, whereas the term stop was invented to directly refer to doubling or halving the amount of light in images.
The result will be no blurred subjects in the photo, while the exposure will remain the same. As you can see that stops play a major role in photography, as they directly affect the quality of the images you take.
One of the terms that confuse numerous photography beginners is “Stops.” It is a very important expression in the photography world, as it is directly connected with the amount of light that reaches the camera’s sensor. “Light stops” means that, by using three essential camera tools, ISO, shutter speed and aperture, you double or halve the amount of light in the taken photo. A “stop up” is going to double the amount of light in your photo, whereas, going a “stop down” is going to halve the amount of light present in the image. Let’s take a look at how you should use the three crucial elements to take complete control over your light exposure.
Before we start, keep in mind that exposure and stops are two different things. Exposure is the amount of light the sensor is exposed to, whereas the term stop was invented to directly refer to doubling or halving the amount of light in images.
Understanding Stops in Photography - an Easy Beginner's Guide
One of the determining factors that impact the amount of light that reaches the camera’s sensor is shutter speed. Also, it plays an important role in freezing motion, which is important for sports photographers
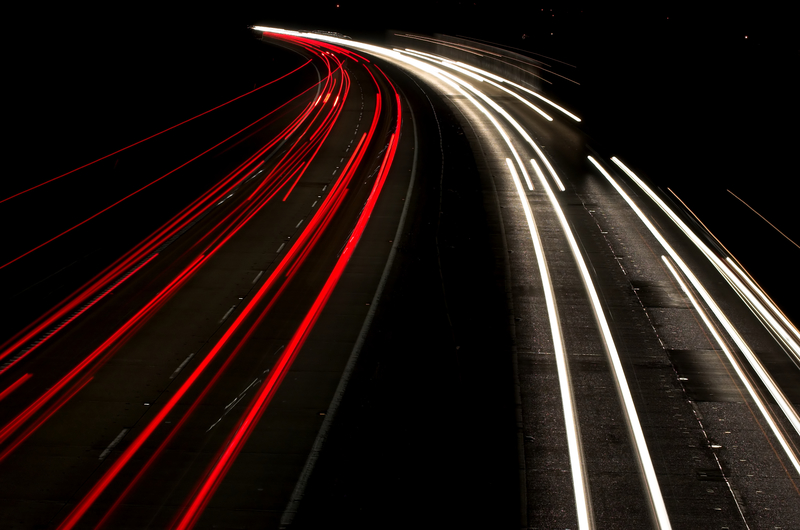
The general rule is: the higher the shutter speed, the less light is going to reach the sensor. Contrarily, the slower the shutter speed, not only is there going to be more light in the photo, but the object that is moving is also going to become blurry in the whole process.
To understand how shutter speed is affecting the stop value, we can start off with an example of a shutter speed of 1 second. To move a stop lower, in terms of reducing the amount of light reaching the sensor, one needs to increase the shutter speed to a 15th of a second. If you want to half the amount of light from 1/15th of a second, you need to up the shutter speed to a 30th of a second. The rest of the stop values are logical: 1/60, 1/125, 1/250, 1/500, 1/1000, 1/2000, and 1/4000 of a second are considered stops.
Some cameras can go even higher with shutter speeds, but simply remember that doubling numbers is going to make the time that it takes for the light to reach your sensor into the half. For example, a difference between a 1-second exposure and 1/125 of a second is five stops down, meaning that a photo will have five times more light with a 1-second exposure.
Aperture and stop correlation
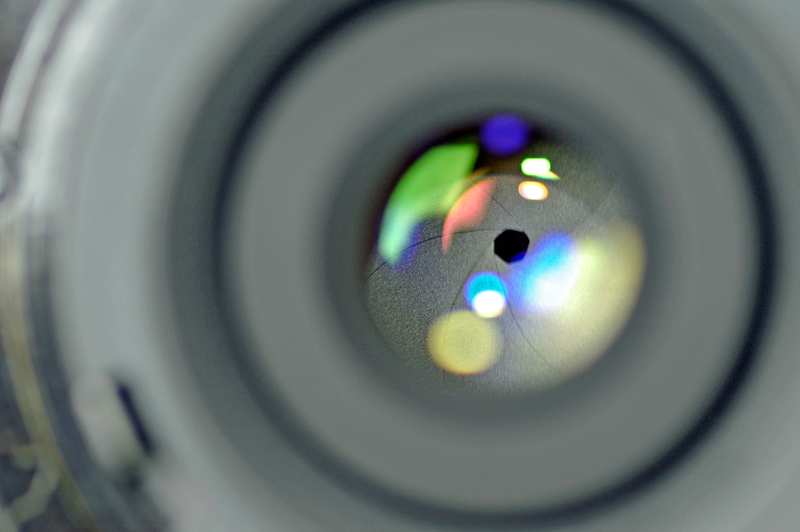
Aperture is an important part of photography, because the more it opens, the more light is going to reach the sensor. For example, lenses with a f/1.4 aperture are wide lenses. Aperture also affects the depth of field, which gives a special look to the images. The wider the aperture, the more focus you can put on your subject.
But, unlike ISO and Shutter speeds, stop differences with f numbers are differently calculated. For example, a stop down from f/2.8 is f/4. Meaning that the f-number is multiplied by 1.41 (the square root of 2). So, if you want to go a stop down with your aperture, it is necessary to multiply the current f value you are using by 1.41.
To make the whole process easier, you can memorize the following values: f/1, f/1.4, f/2, f/2.8, f/4, f/5.6, f/8, f/11, f/16, f/22 and f/32, or you can simply carry a calculator to your photo shoot!
The higher the f/ value, the lower the amount of light that will reach the sensor. But also, the focus is going to be higher as well.
ISO and stop correlation
ISO value represents how sensitive your camera sensor is to light. A side effect with increasing ISO is image grain, which makes it less sharp, resulting in loss of quality. However, professional cameras can shoot with high ISO values without any image quality loss.
By increasing ISO values, you are going stops up with your images. For example, ISO 200 has twice as much light as the image shot with ISO 100. Like with shutter speeds, doubling the ISO values leads to higher stops, providing more light to the image.
By playing with these three elements, a photographer can create perfect images, as long as he or she understands what each of the elements does to the photo. For example, if you are shooting an evening event with 1/60 of a second, f/2 and ISO 400, and you have hit the right exposure, but the subjects are moving, then you can increase the shutter speed to 1/125 of a second. This means that you have gone a stop down, so you now have to bump the ISO to 800 or open aperture f/1.4 to compensate and achieve the same exposure.
To better understand each of these elements, you need to get out and start experimenting with your camera. This is going to lead to the best results over time, as you are going to acquire much more experience. With some practice, and by following the above-mentioned tips, you are going to be able to take control over the manual setting of your camera completely. Get out and start shooting, your future self is going to be very grateful.


