CSS3 Images Gallery for Blogger
Preview-
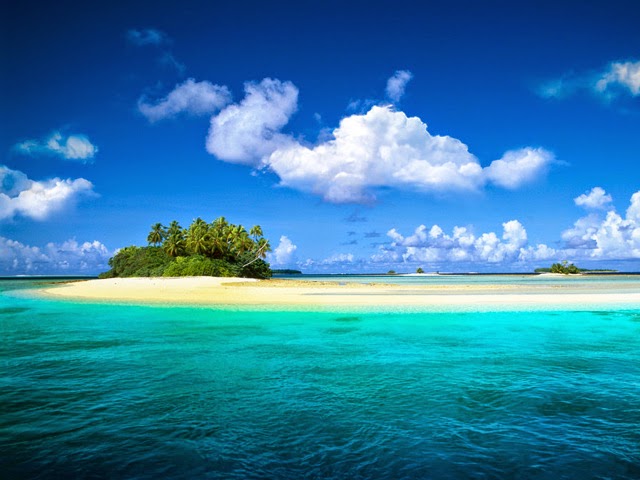.jpg)
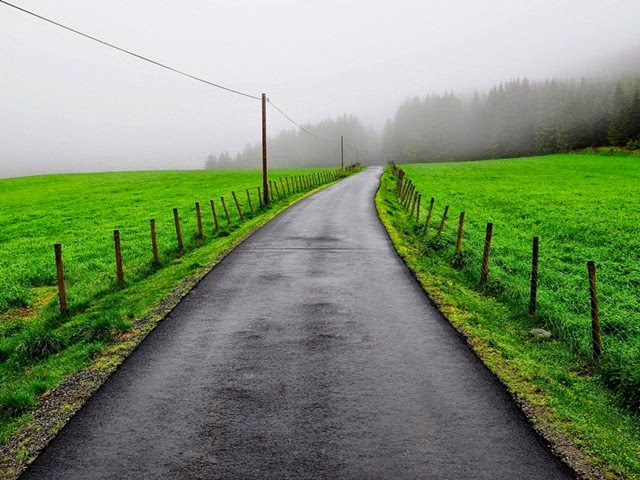.jpg)
.jpg)
.jpg)
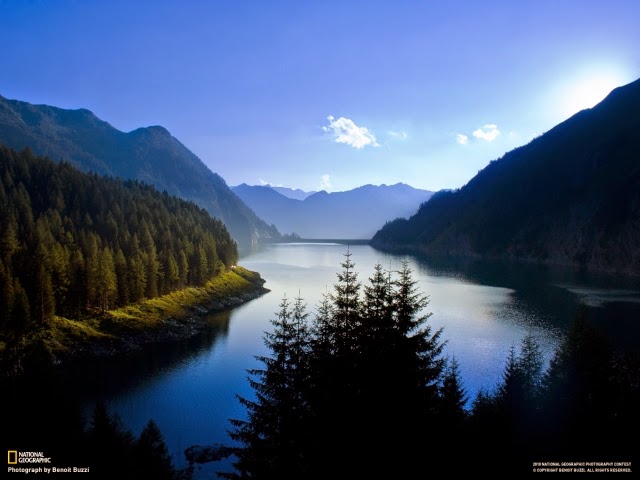.jpg)
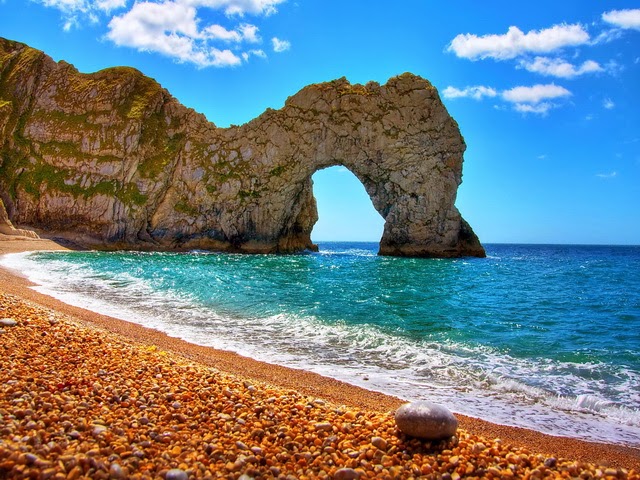.jpg)
.jpg)
.jpg)
.jpg)
.jpg)
How to install & apply:
This gallery set up has few steps, read on-
.jpg)
.jpg)
.jpg)
.jpg)
.jpg)
.jpg)
.jpg)
.jpg)
.jpg)
.jpg)
How to install & apply:
This gallery set up has few steps, read on-
Step 1: CSS Embedding
- Log into your Blogger, select your blog
- Go to ‘Template’ tab and select’ Edit HTML’
- Search for ]]>< into code snippet (using CTRL+F or CMD+F)
- Before ]]>< paste below codes
/*crawlist.net gallery CSS starts*/
.ks-galleri {height:auto; width:100%; margin:auto; padding:20px 20px;}
.ks-galleri img{
-webkit-transform:scale(0.8);
-moz-transform:scale(0.8);
-o-transform:scale(0.8);
-webkit-transition-duration: 0.5s;
-moz-transition-duration: 0.5s;
-o-transition-duration: 0.5s;
opacity: 0.7;
margin: 0 10px 5px 0;
height:150px; width:200px;
}
.ks-galleri img:hover{
-webkit-transform:scale(1.1);
-moz-transform:scale(1.1);
-o-transform:scale(1.1);
box-shadow:0px 0px 30px gray;
-webkit-box-shadow:0px 0px 30px gray;
-moz-box-shadow:0px 0px 30px gray;
opacity: 1;
}
/*crawlist.net gallery CSS ends*/
Configuration:
In .ks-galleri img CSS class you will find default gallery images Height and Width, Change the value with your suitable Height and Width, Small resolution will be better; And ‘Save template’
Step 2: Gallery set up
- Go open a “New post” or an existing post,
- Upload some images what you intend to put into gallery
- After upload is done, Switch ‘HTML’ view from post editor (Compose/HTML)
- You will see all uploaded images source codes,
- Locate the very first uploaded image’s code and paste this line,
<div class="ks-galleri">
- And locate the very last uploaded image’s code and paste this word,
</div>
Configuration:
You may delete Blogger system’s default image HTML rules, Shown in image below, if you don’t remove these code, default configuration of gallery won’t work nicely.
Get back to ‘Compose’ part, and publish the post
So how your images gallery working on your blog and any problem facing with gallery don’t forget to mention, new tutorials and widget will be release soon stay subscribed, Goodluck


